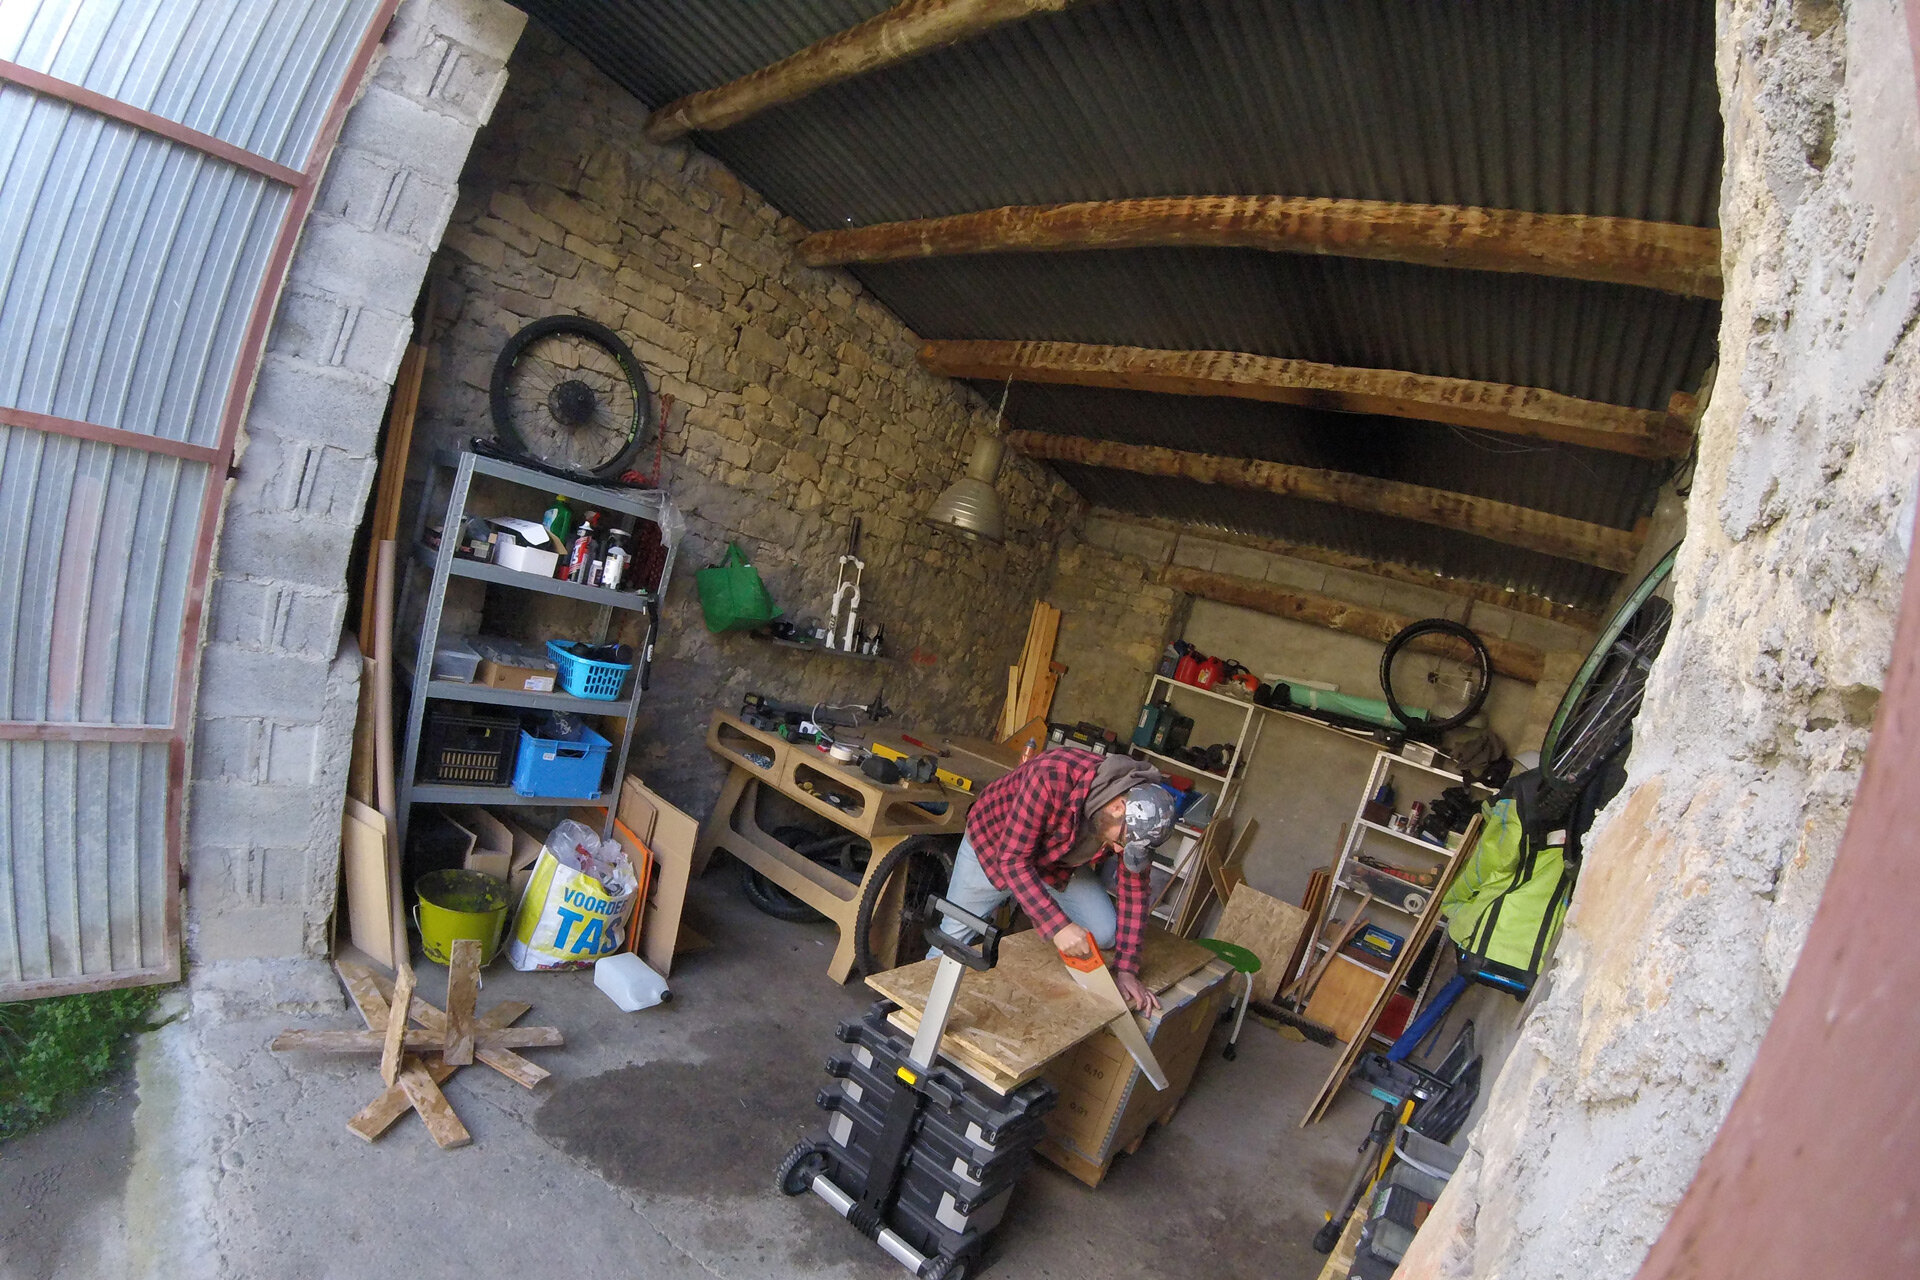
Next to our house I rent an amazing old barn. It think it was used to do repairs on the tractors when our place was still a farm a few years back. It is a mix of old natural stone walls, grey bricks and a corrugated sheet roof on top of old weathered wooden beams. A beaut. The perfect place to put everything bikes related and many other tools I have.
The central object in my shed is a DIY PaulK workbench which I got from my friend Frits Oukes 2 years ago. The barn became more and more a storage of things we couldn’t store in the house, things where all pilled up. In general the space was organised impractical due to the PaulK workbench taking way to much space in its original setup.
Ever since last September I wanted to re-do the barn and turn it into a proper bike shed. Only until the Spanish government locked us up due to corona mid March I had time to really start thinking, designing & working in the re-construction of my bike shed. There won’t be any guiding soon, but there is plenty of time to put in this project.
My goals for the shed
Create more moving & storage space at the same time.
Do it without spending one euro & recycle materials
Make it my practical bike sanctuary.
Build with attention.
Did I succeed?
I think I 99% succeeded in my mission. Like always there is some room for improvement, but I am very happy with the result. Let me walk you through the built following the goals I set for myself.
Create more moving & storage space at the same time
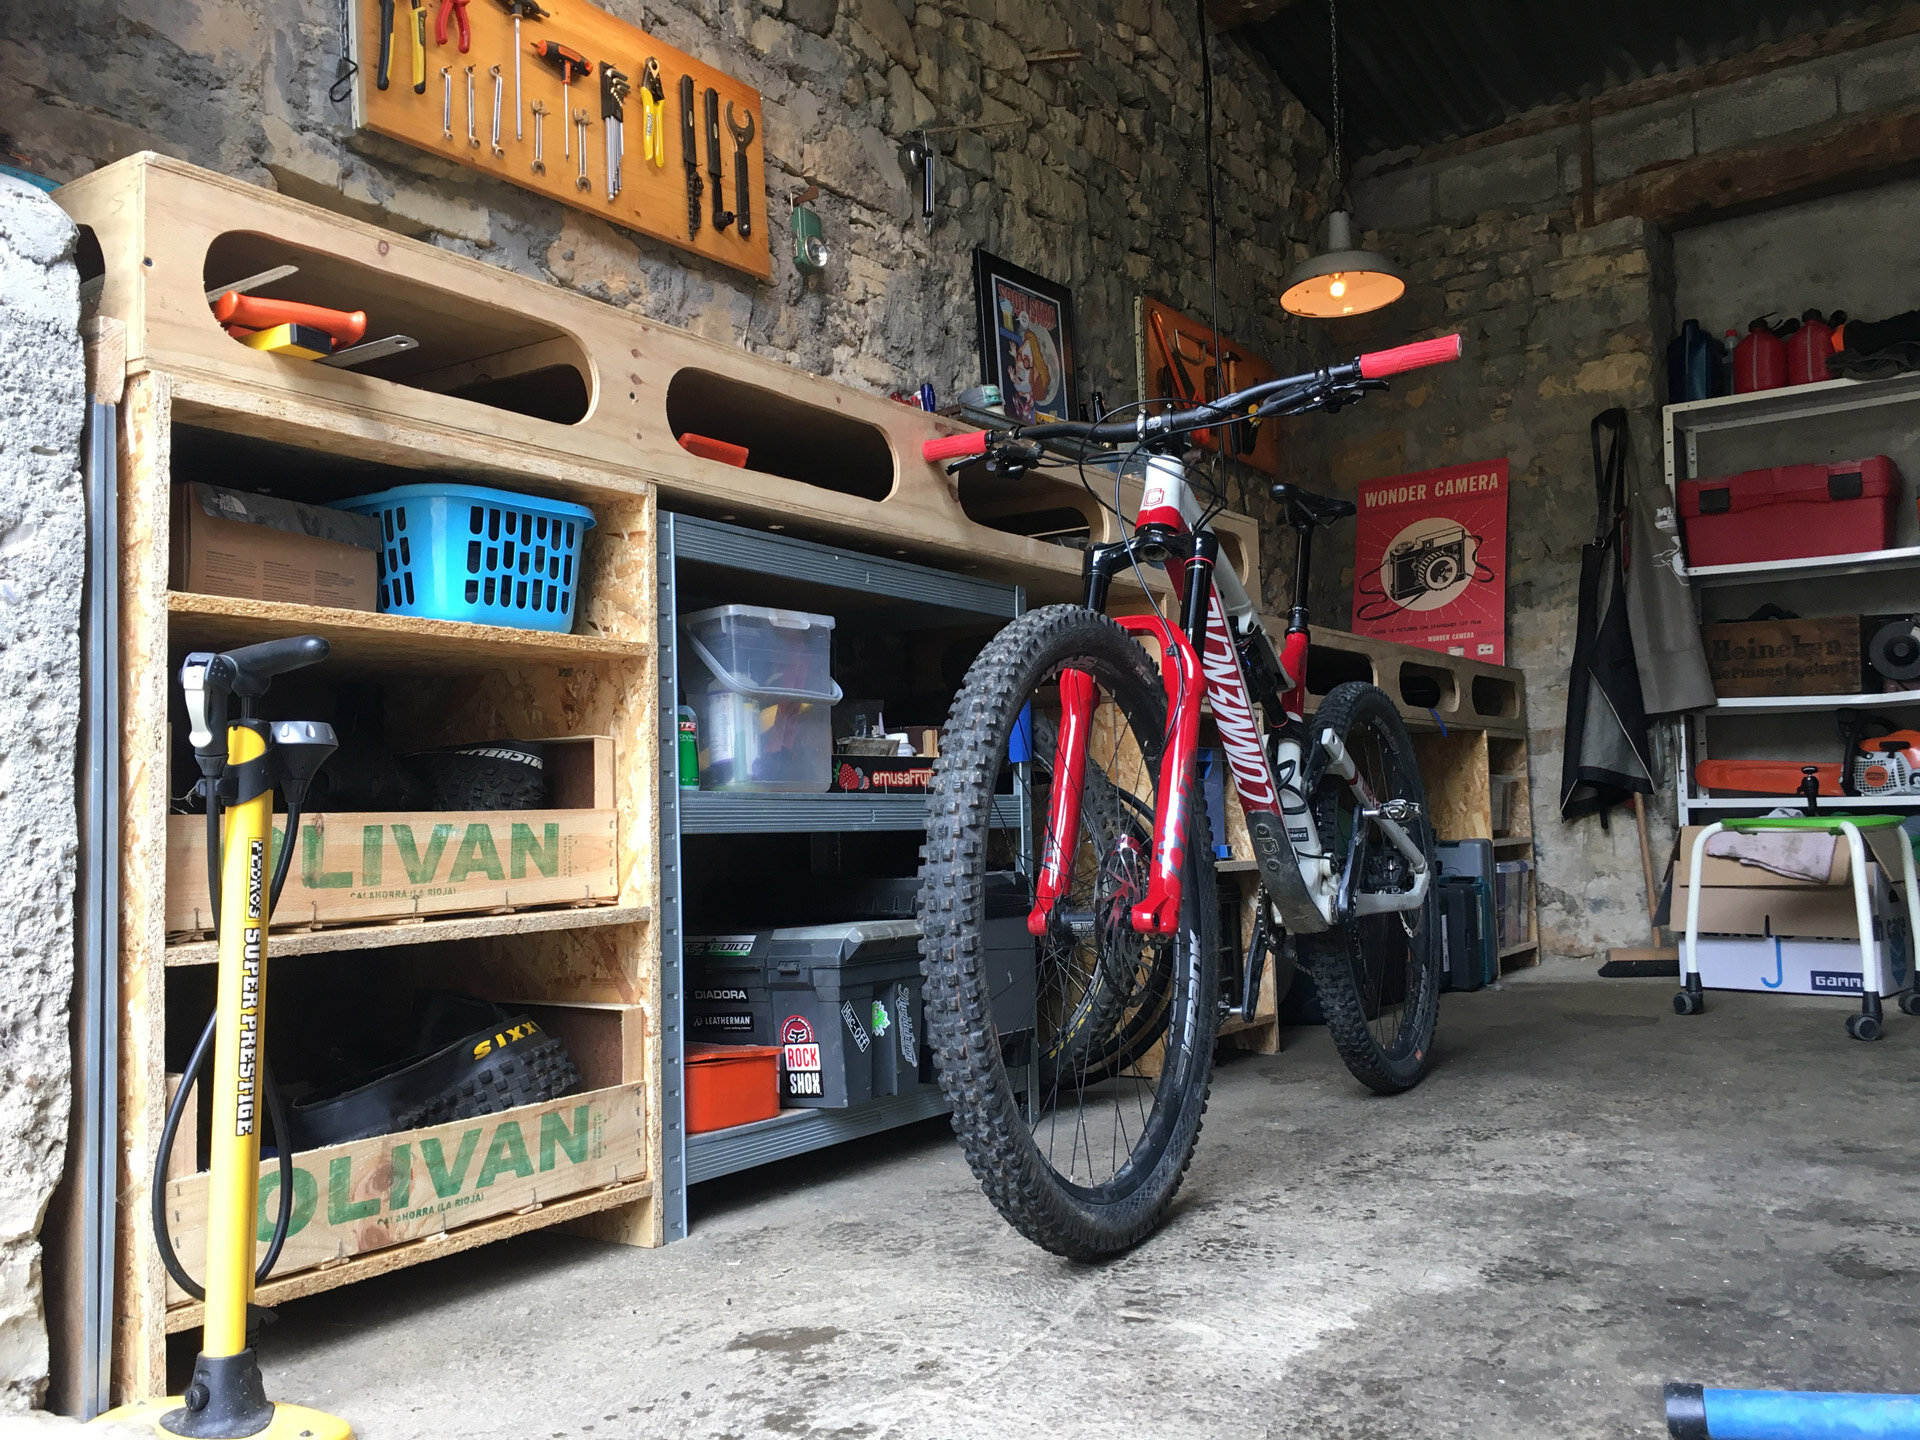
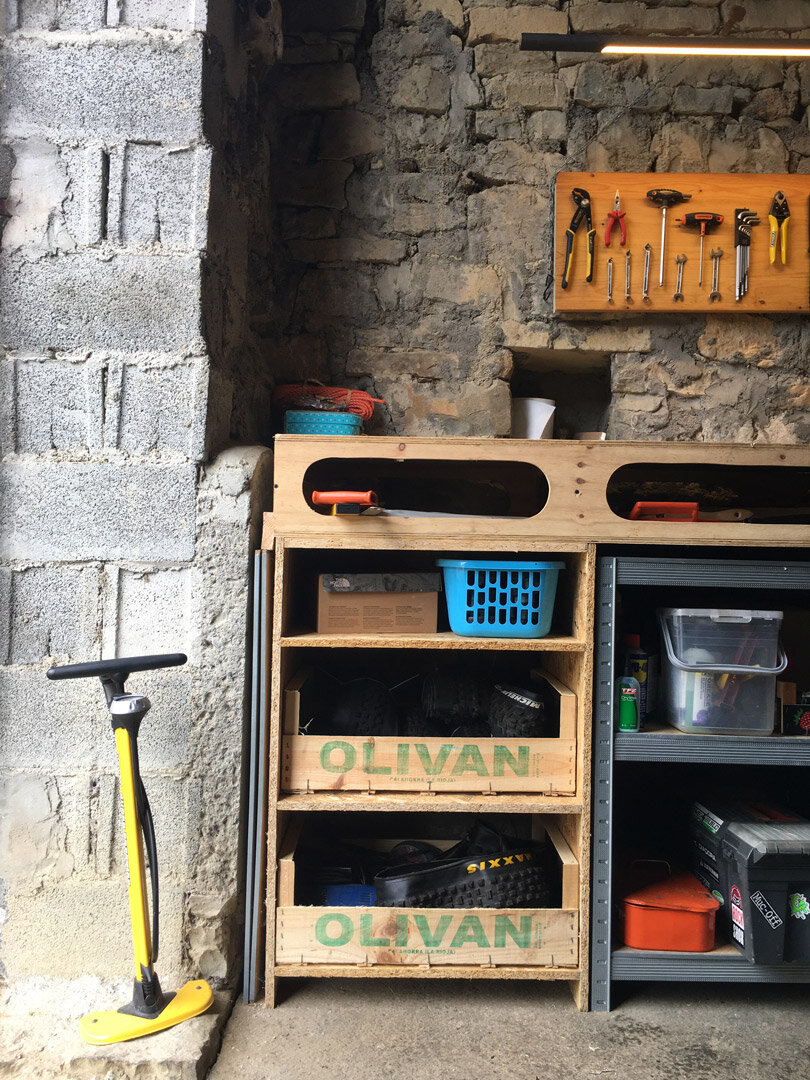
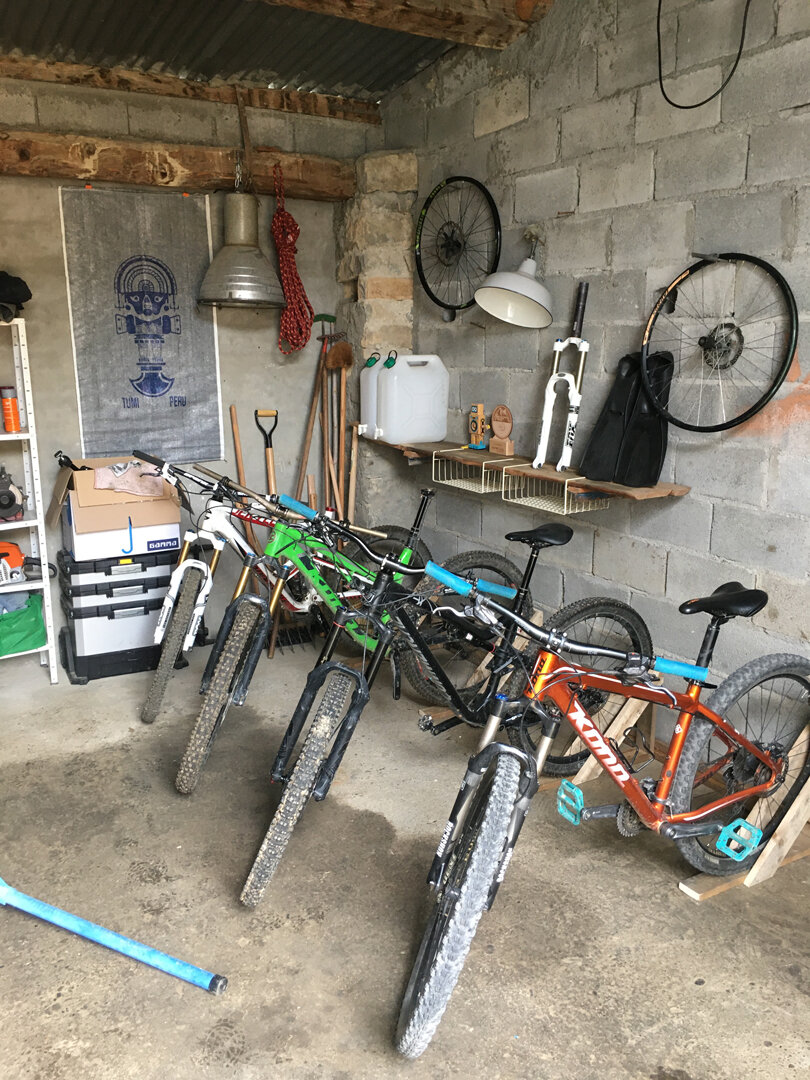
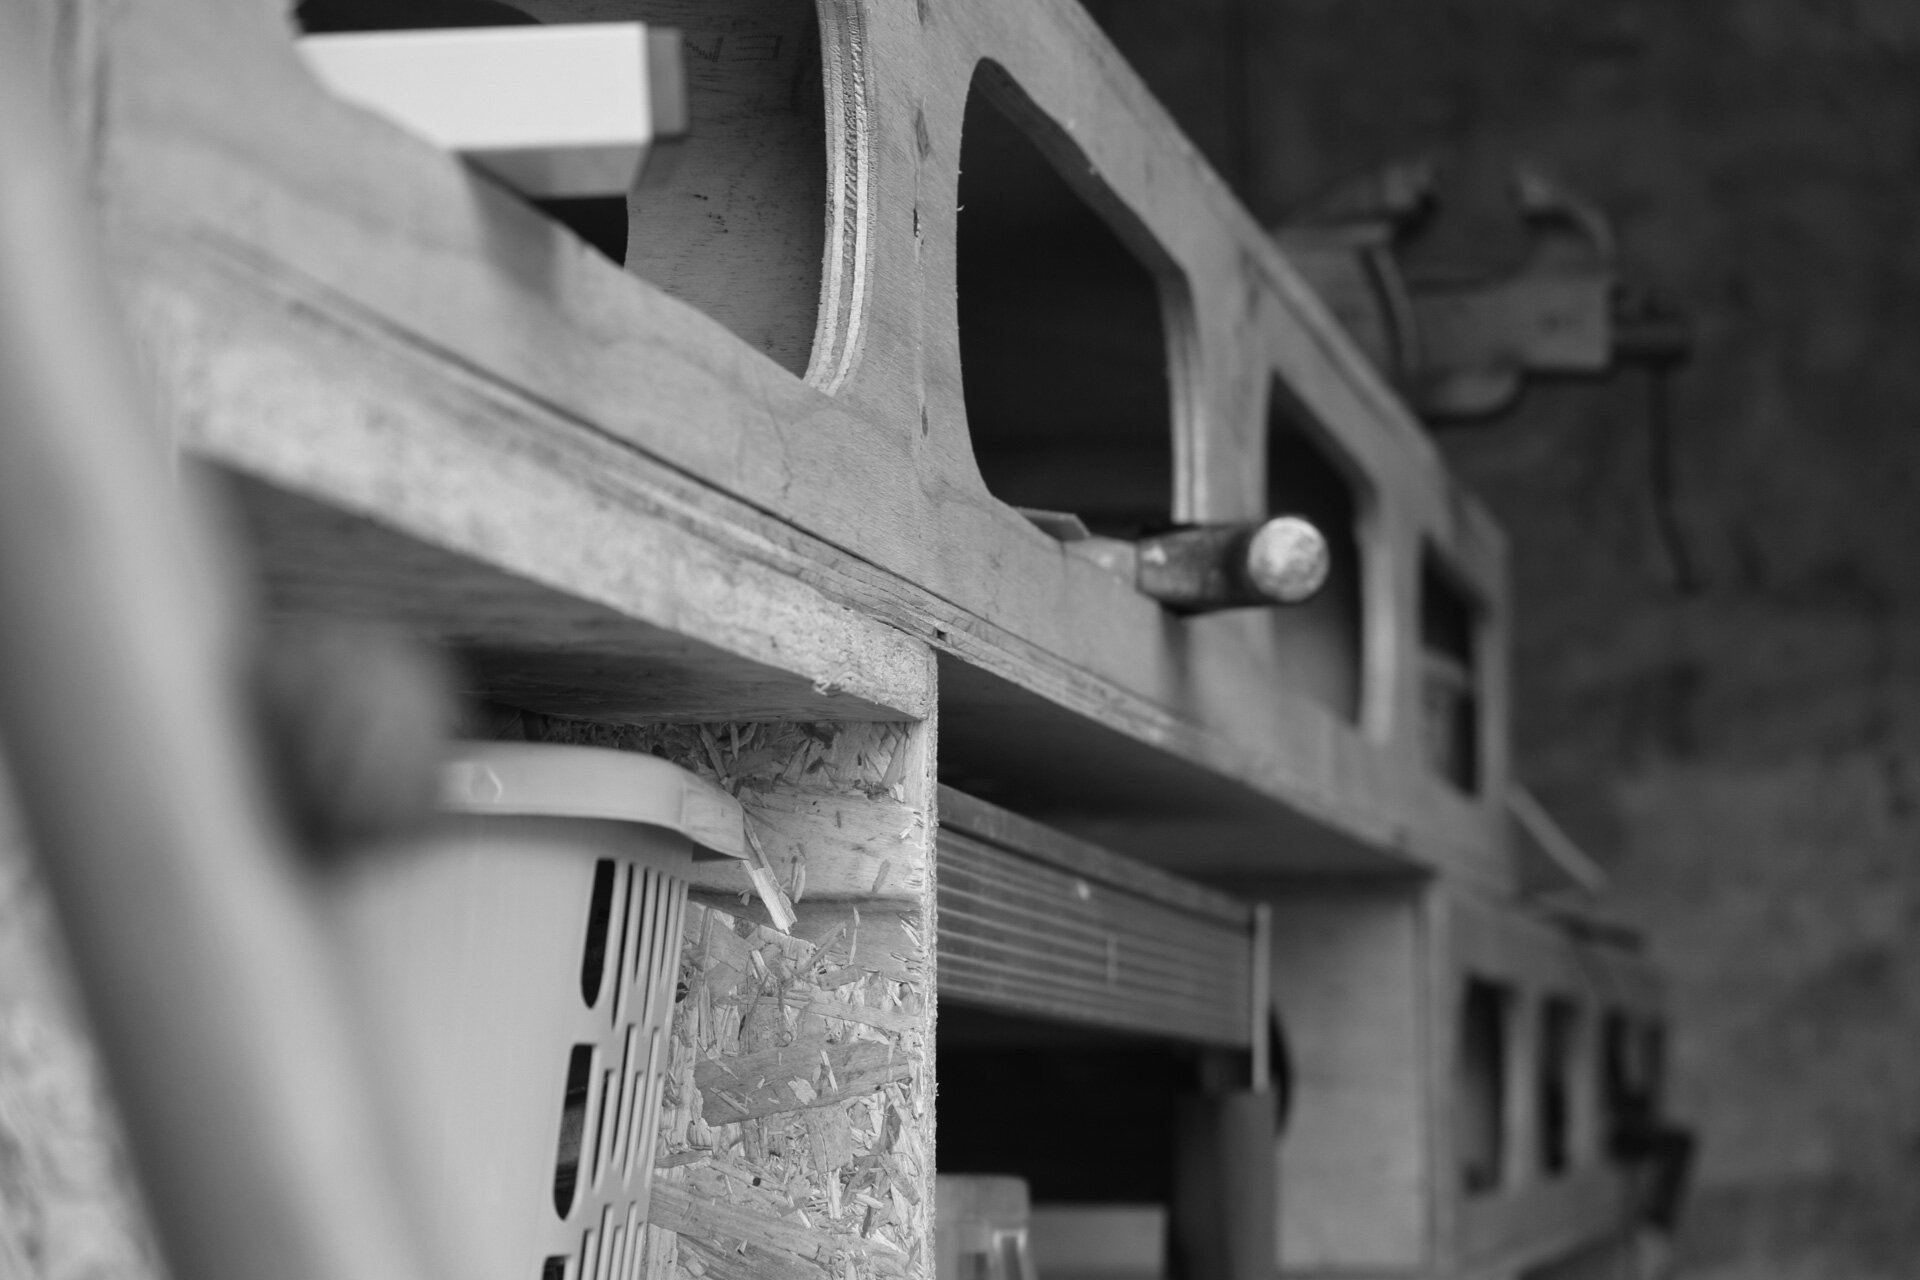
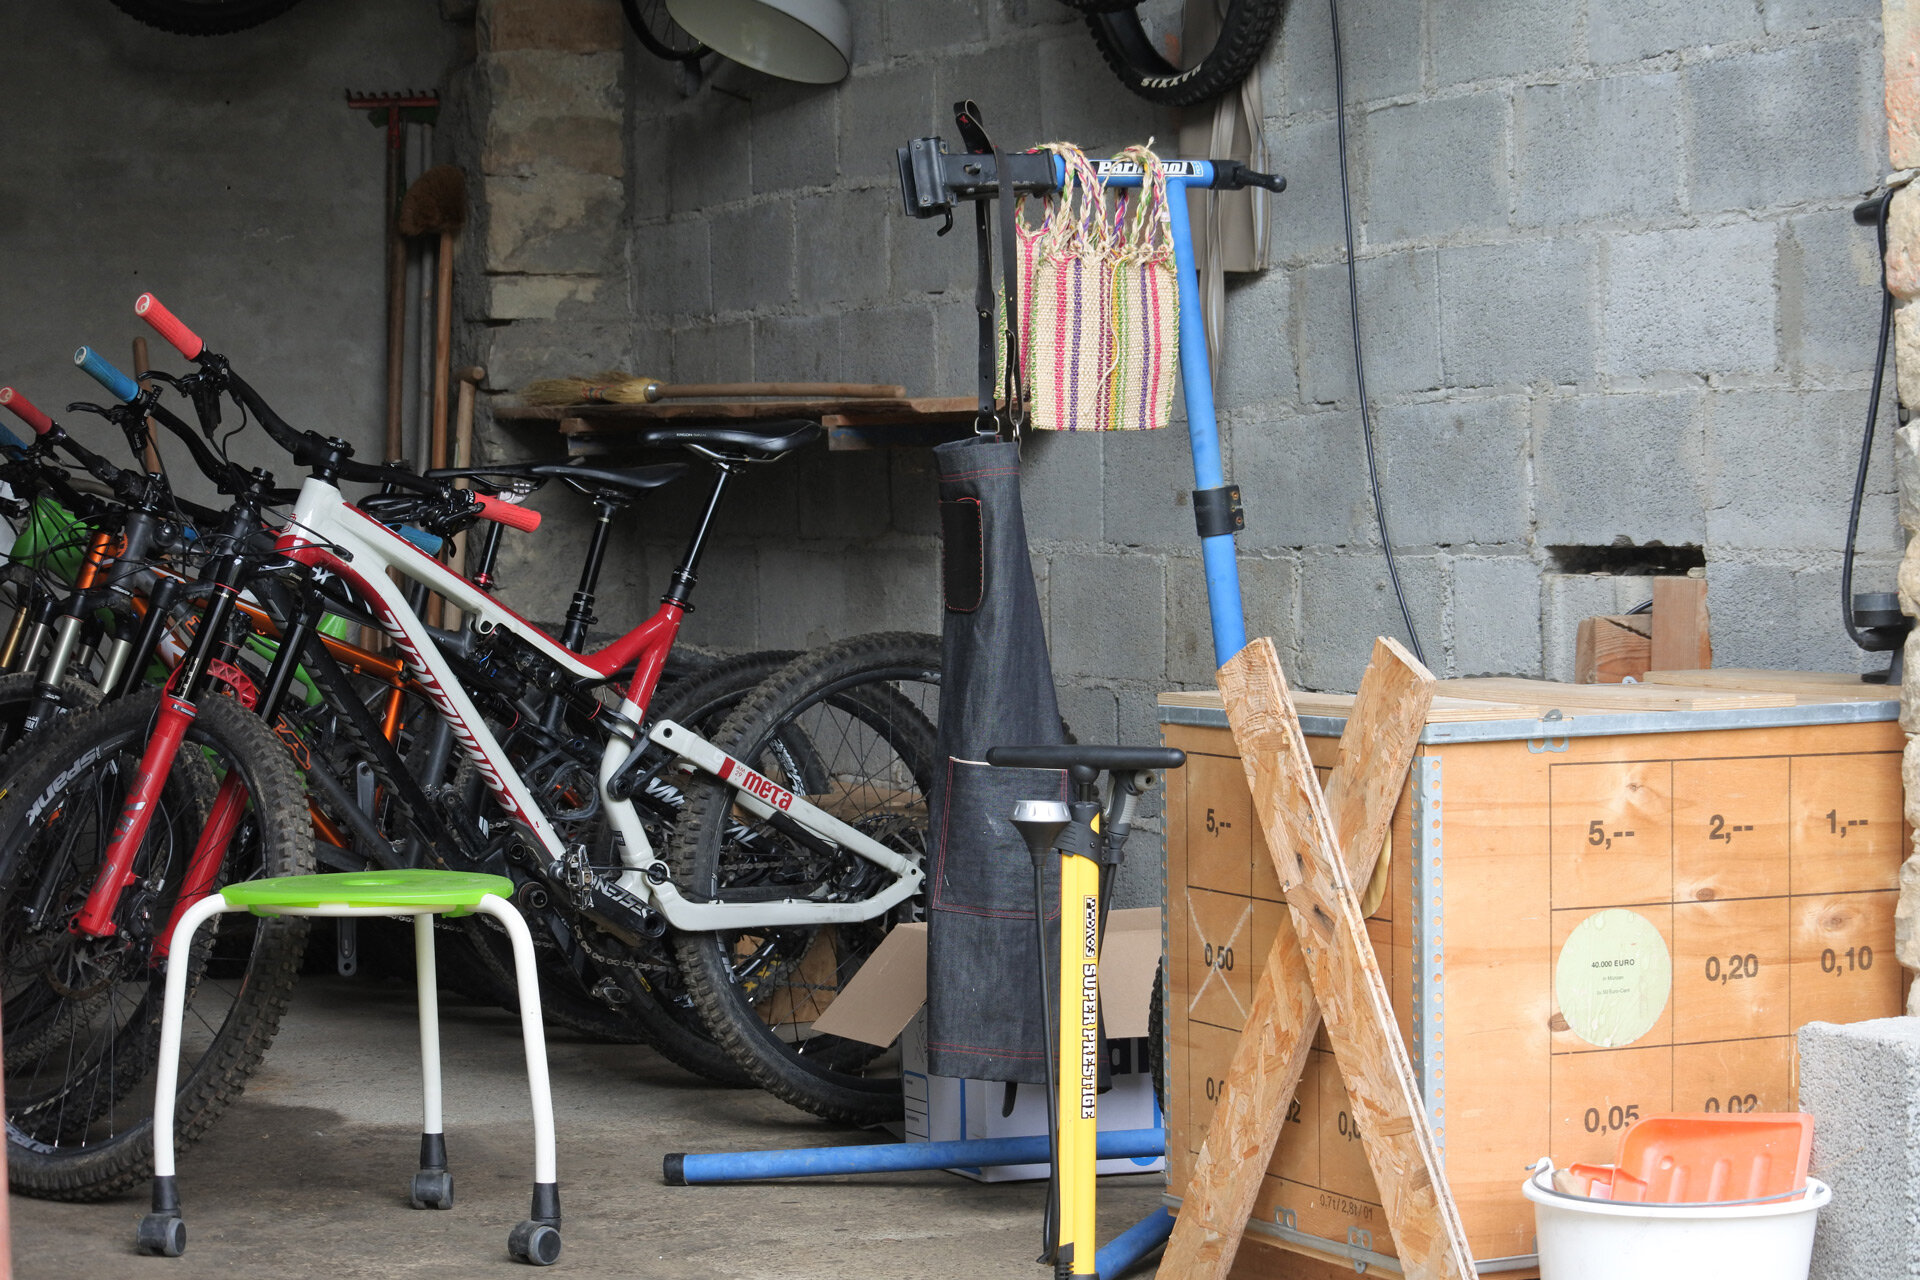
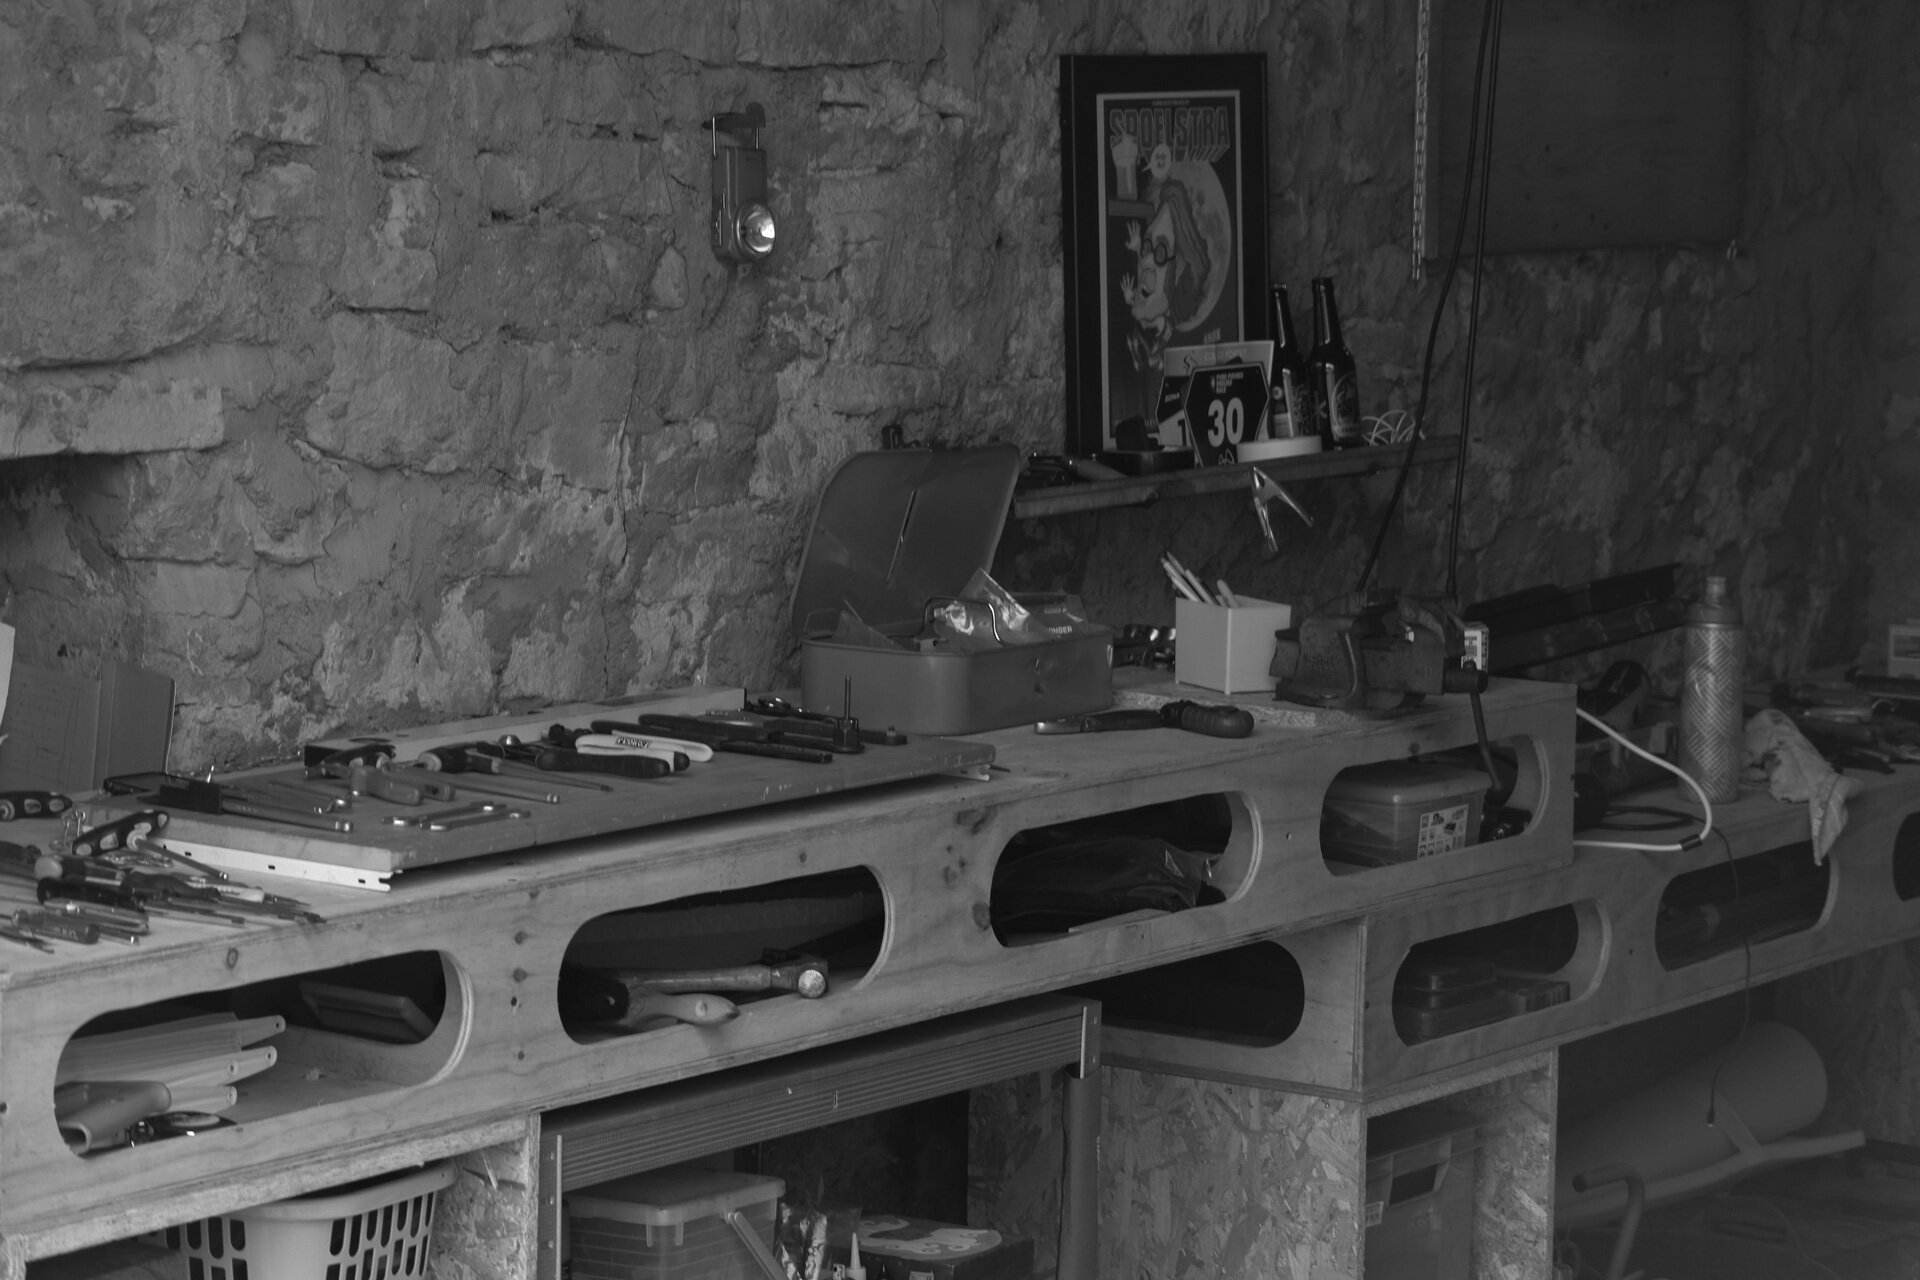
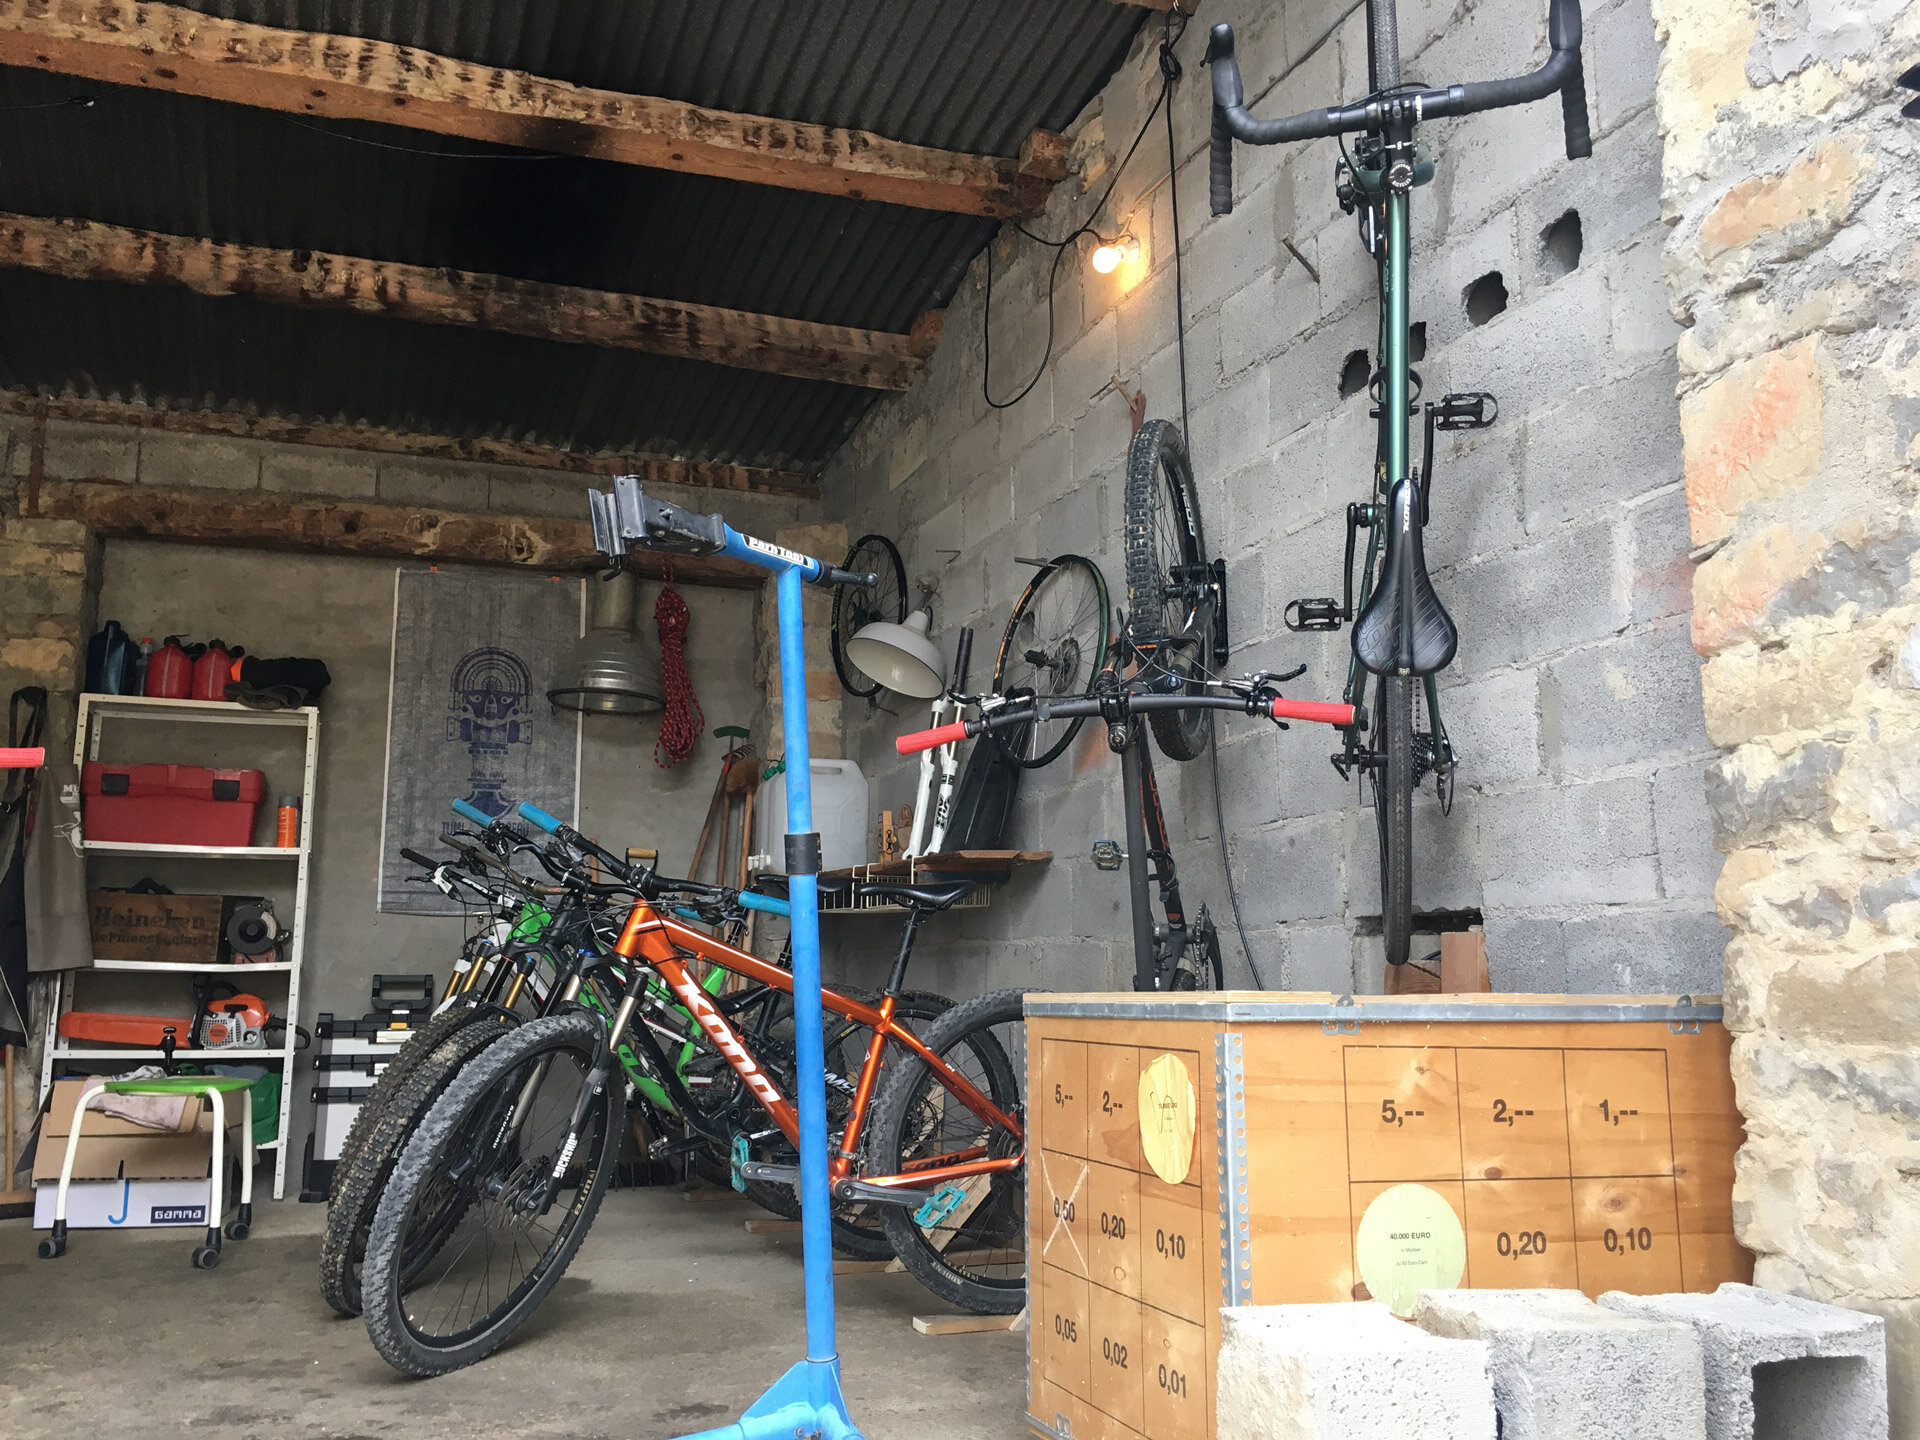
The PaulK workbench was 120 cm deep and 240 cm long and to me very impractical as workbench. It is designed as a sawing table and I used it just as workbench for my bike repairs. The cool thing though is that it is very light and it is built up from 2 big worktops from 60 cm deep and 240 long resting on two trestles. I ditched the trestles built 3 cabinets that could support the worktops and I placed the worktops in line behind each other. A lower one sitting at 70 cm and a higher one sitting at 90 cm overlapping the lowering slightly. Where in the old set up there was no real storage space, the new workbench suddenly had plenty. I could get rid of 2 big shelving units. Suddenly I had a 60 cm workbench with tons of storage space spanning the full length of the shed.
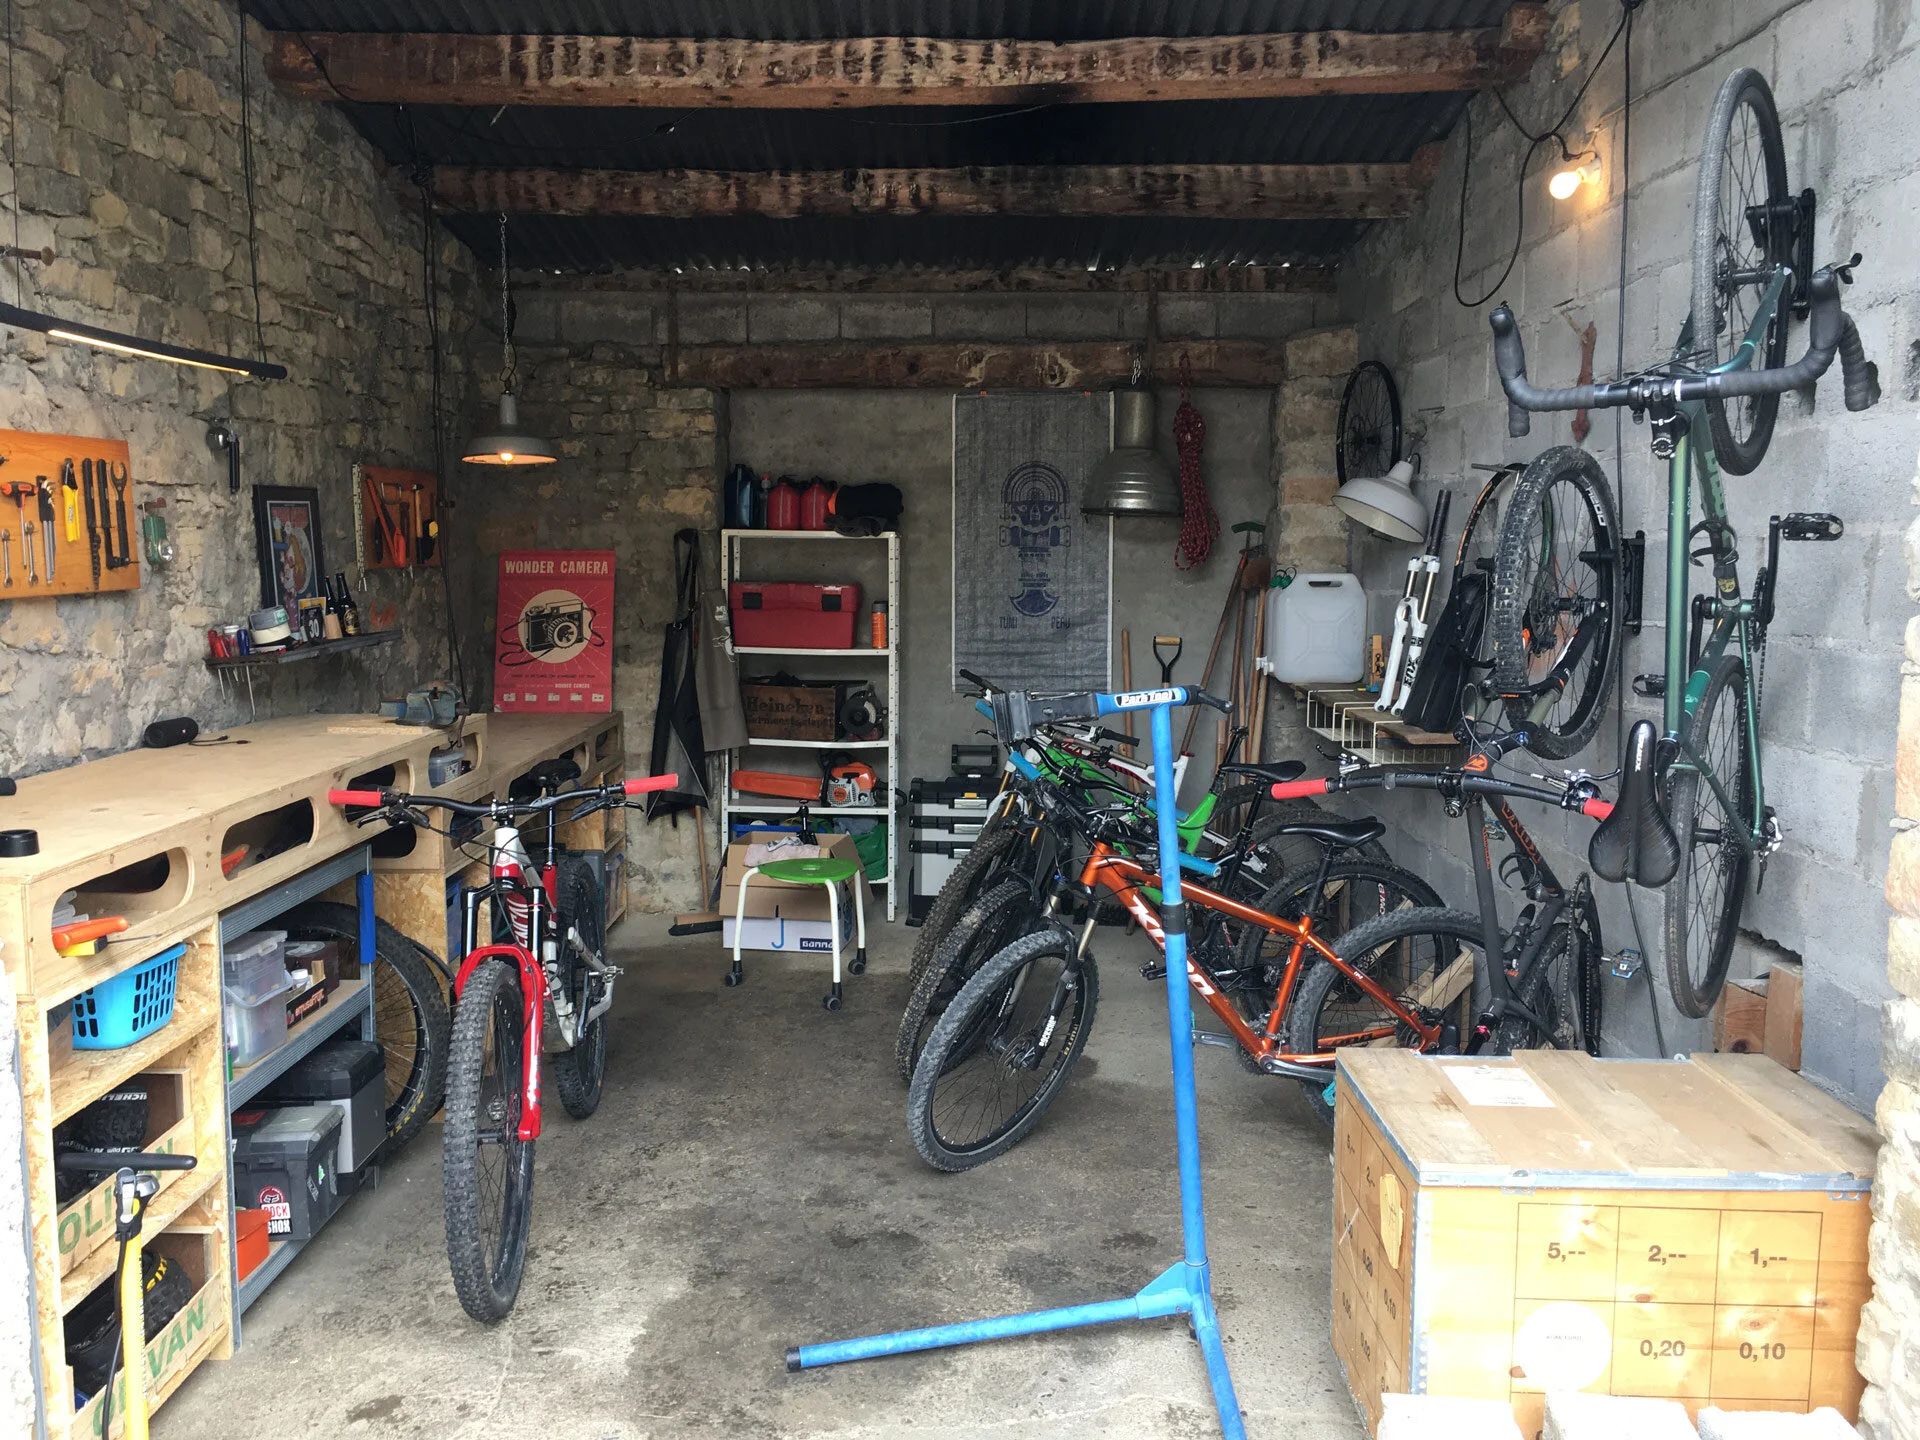
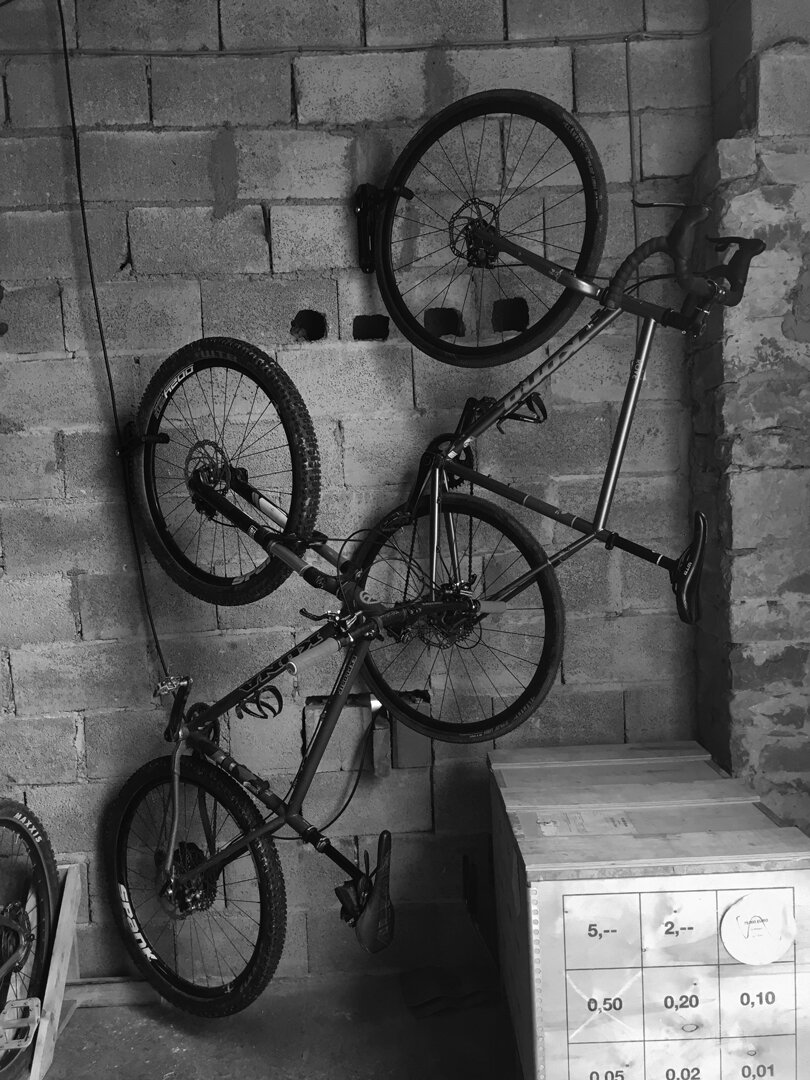
I still had two Topeak Swing-Up wall mounts laying around, which meant I could clear the floor of two bikes while creating more space for the 5 other bikes on the floor. Before I had to move myself and the bikes in a Tetris way, but with two bikes hanging the space became my friend.


This was the old set up. You can imagine it was pretty packed with 7 bikes. I never really spend the time to organise it properly. Now was that time.

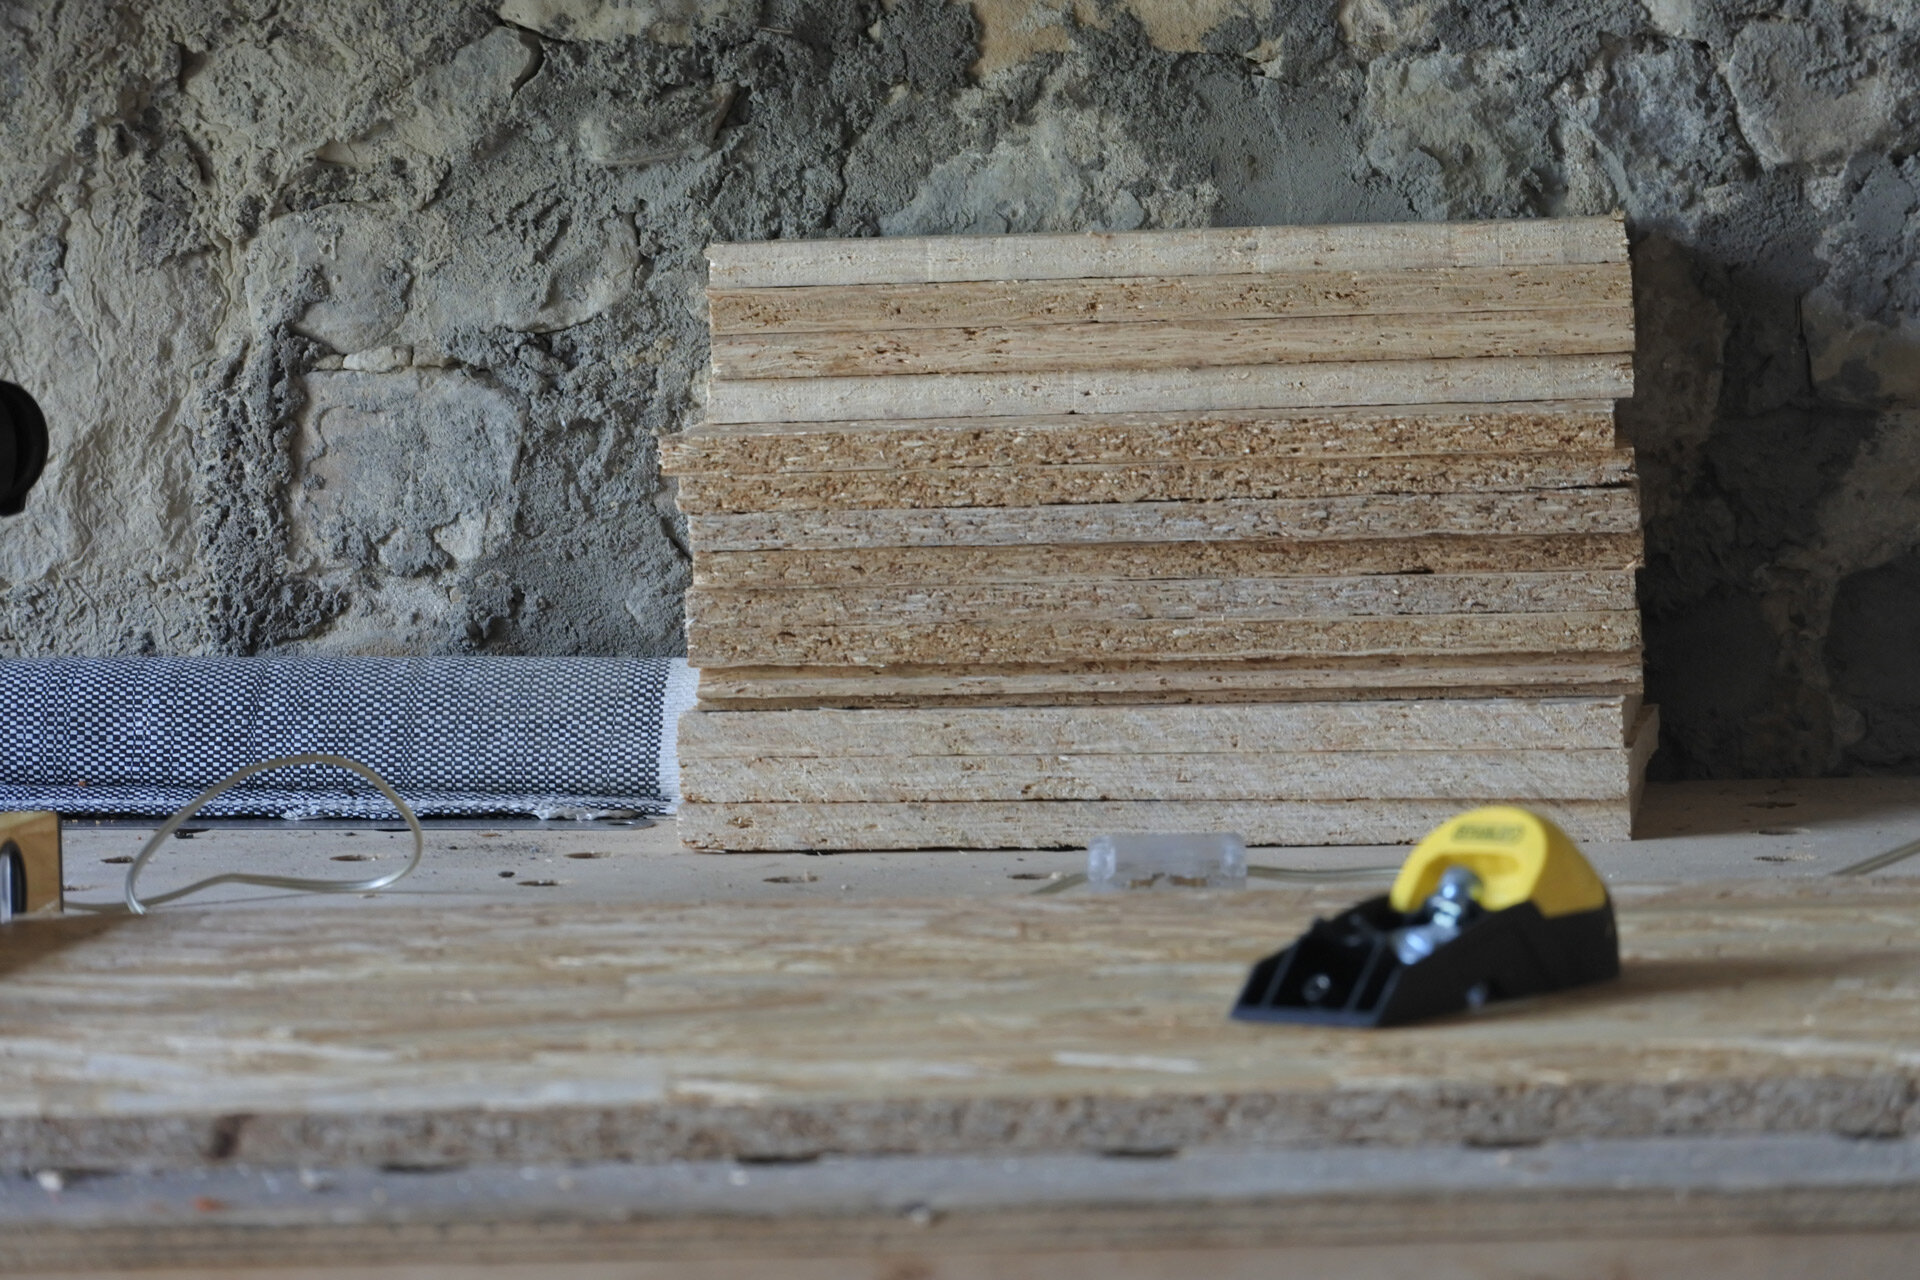
I found the OSB board for the cabinets on the farm. It was already a bit bent due to the rain. But it still was perfect for my cabinets.

Space!
Do it without spending one Euro & recycle materials
During the Spanish lockdown all hardware and construction stores were closed, so even if I wanted to spend money on this build I couldn’t. Since I live in a more rural area and maintain a more simple life, I like to re-use as much as possible. The old farm has often some nice wood laying around that has no value for someone else, but I see a cabinet in a stack of OSB board or 4 bike stands in a wooden frame that has a weathered look to it.
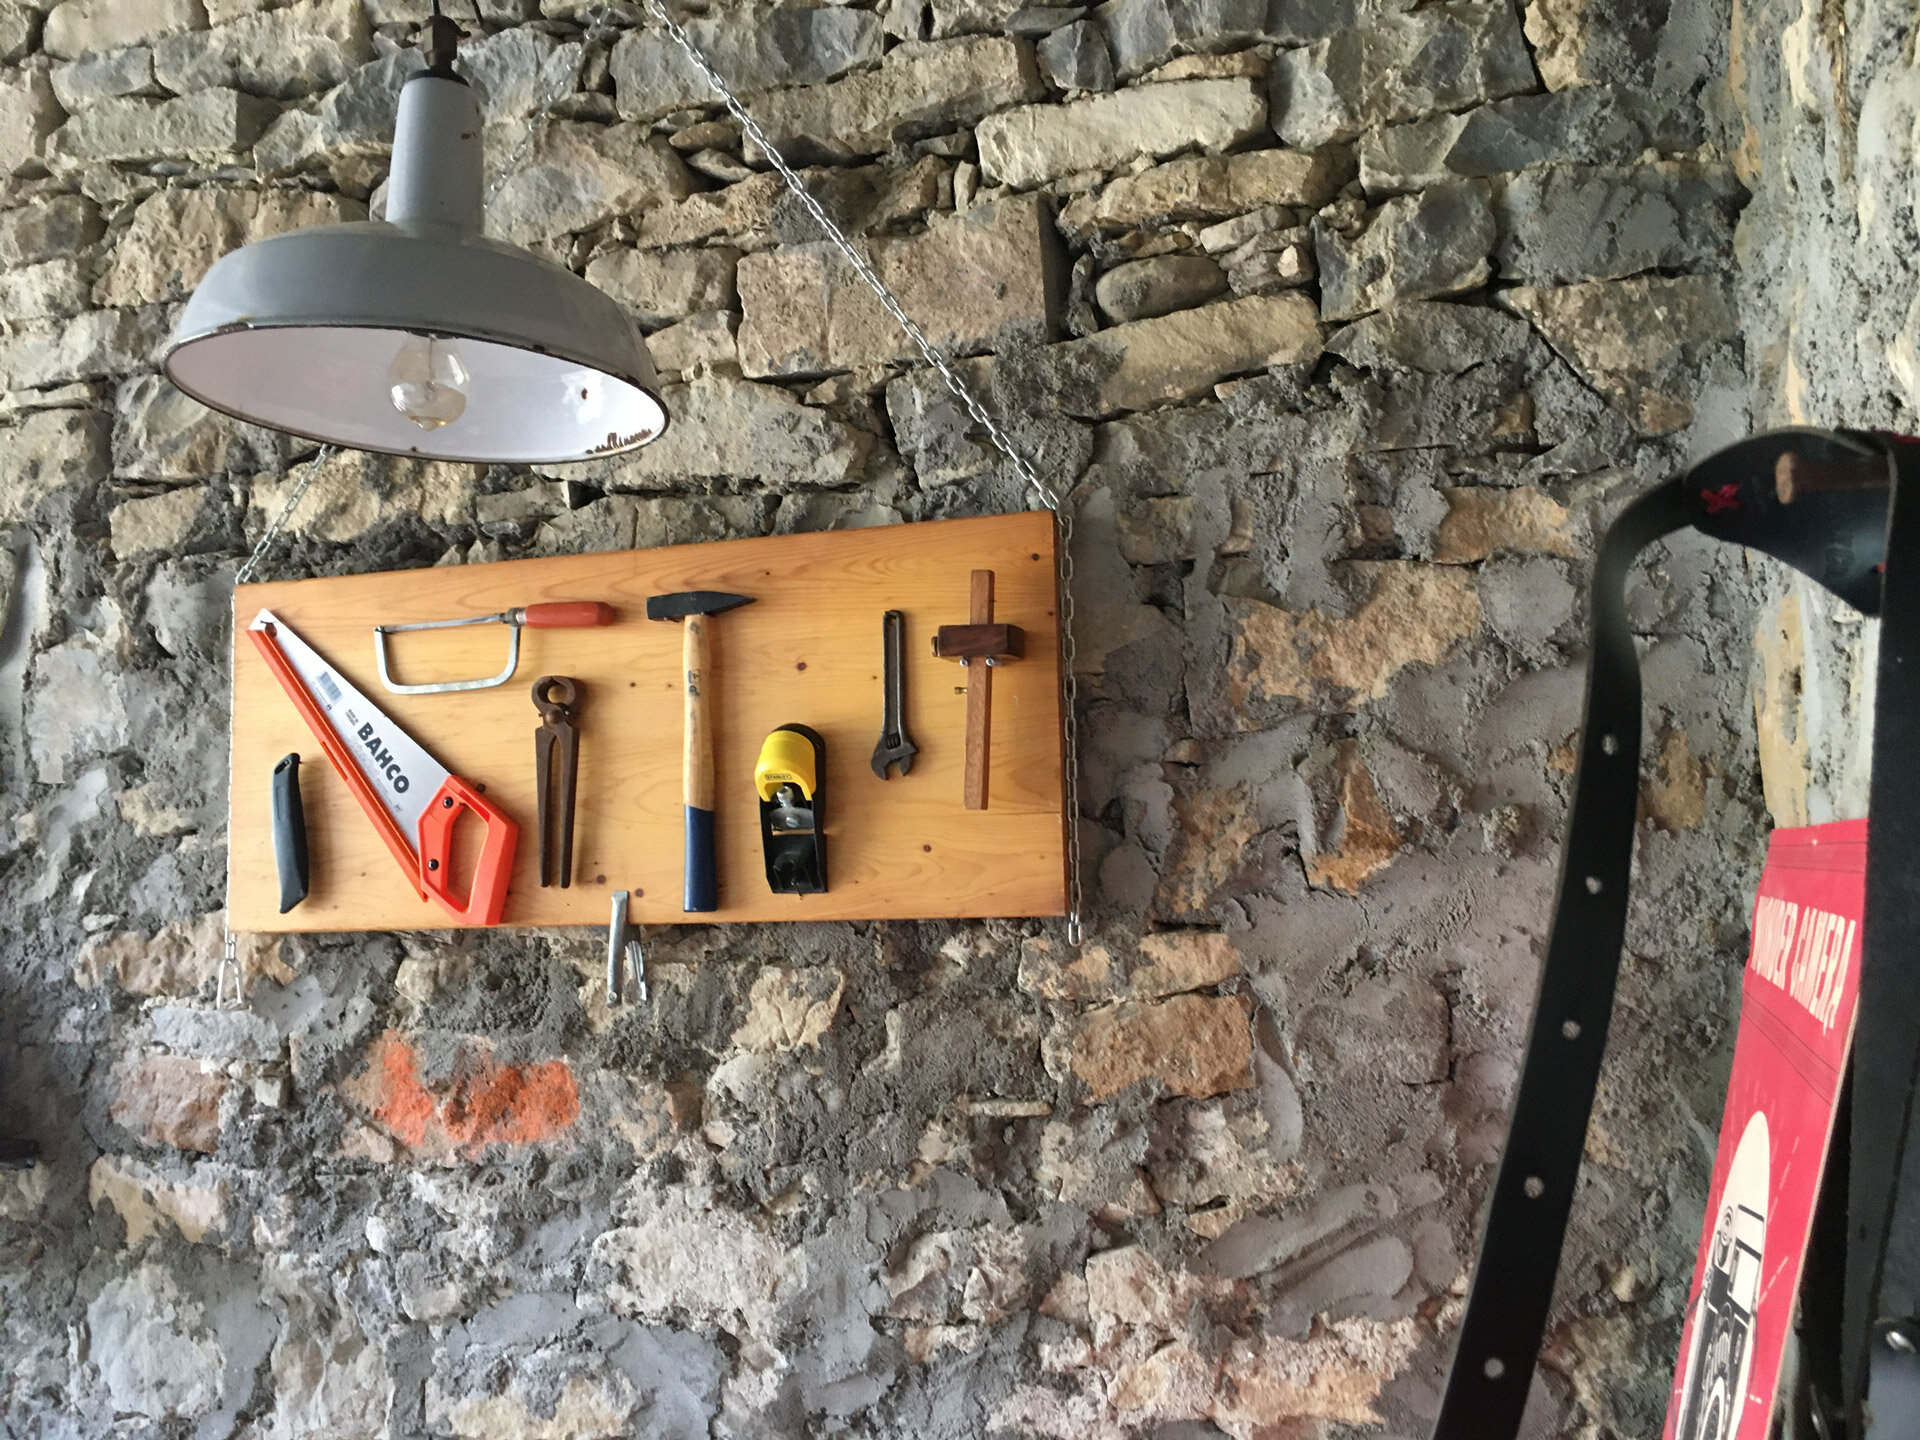
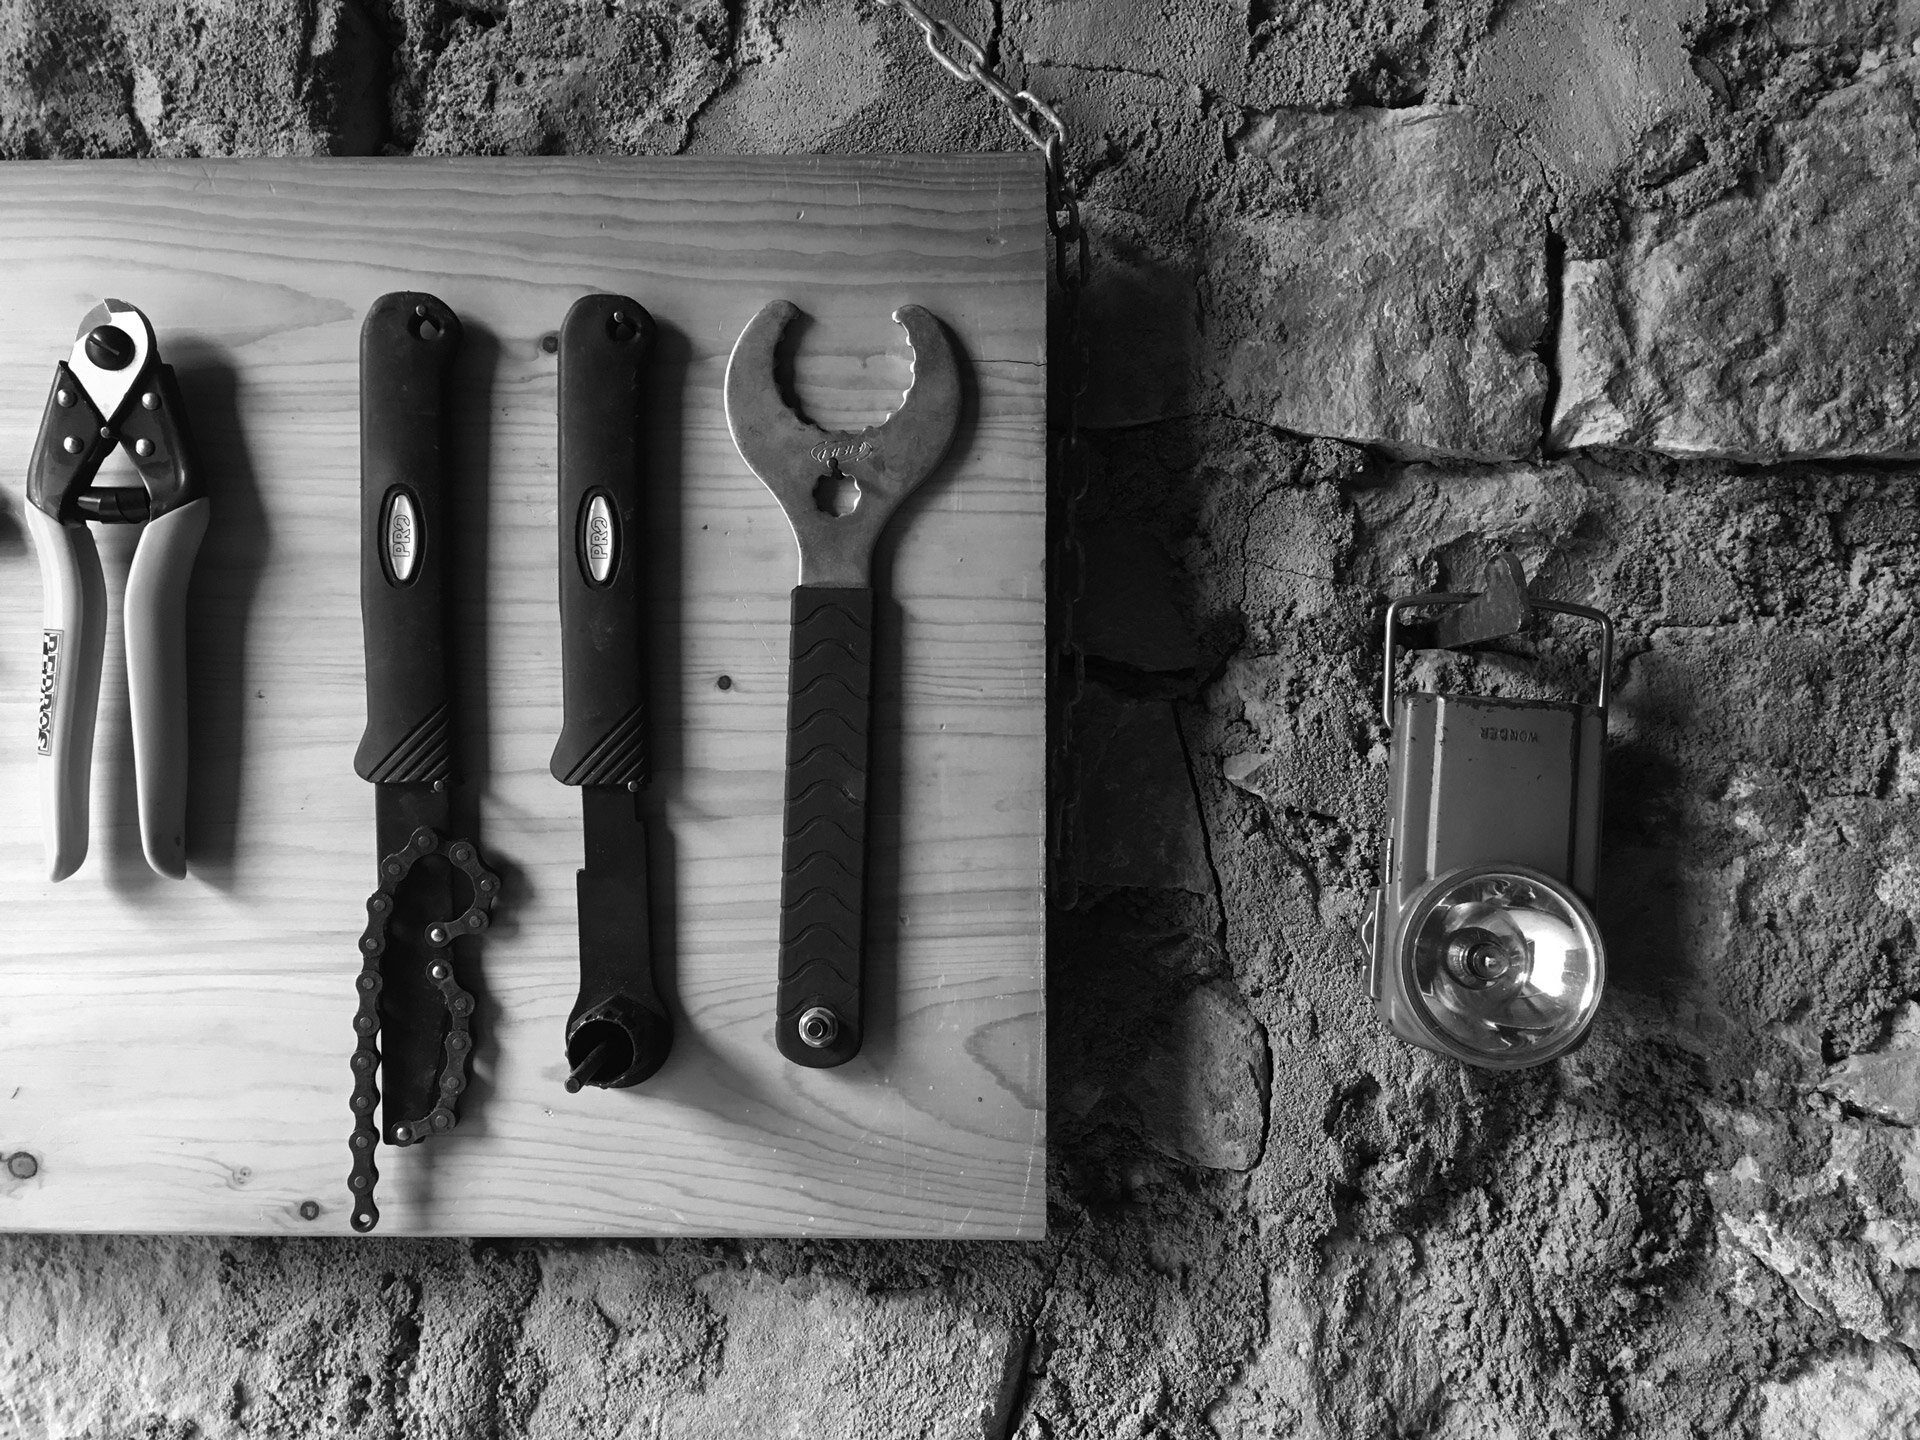
I still had some building materials myself. I turned 2 shelves of a Lundia Shelving unit into 2 tool boards that hang on some old chains I found. I still had plenty of screws and nails. For the cabinets I re-used the screws I took from a previous house I lived in in the Netherlands (nerdy I know).
The only money I spent on the bike shed was on the cold Rondadora beer after a day of working.

Turning this weathered wooden frame

Into 4 bike stand
Make it my practical bike sanctuary.
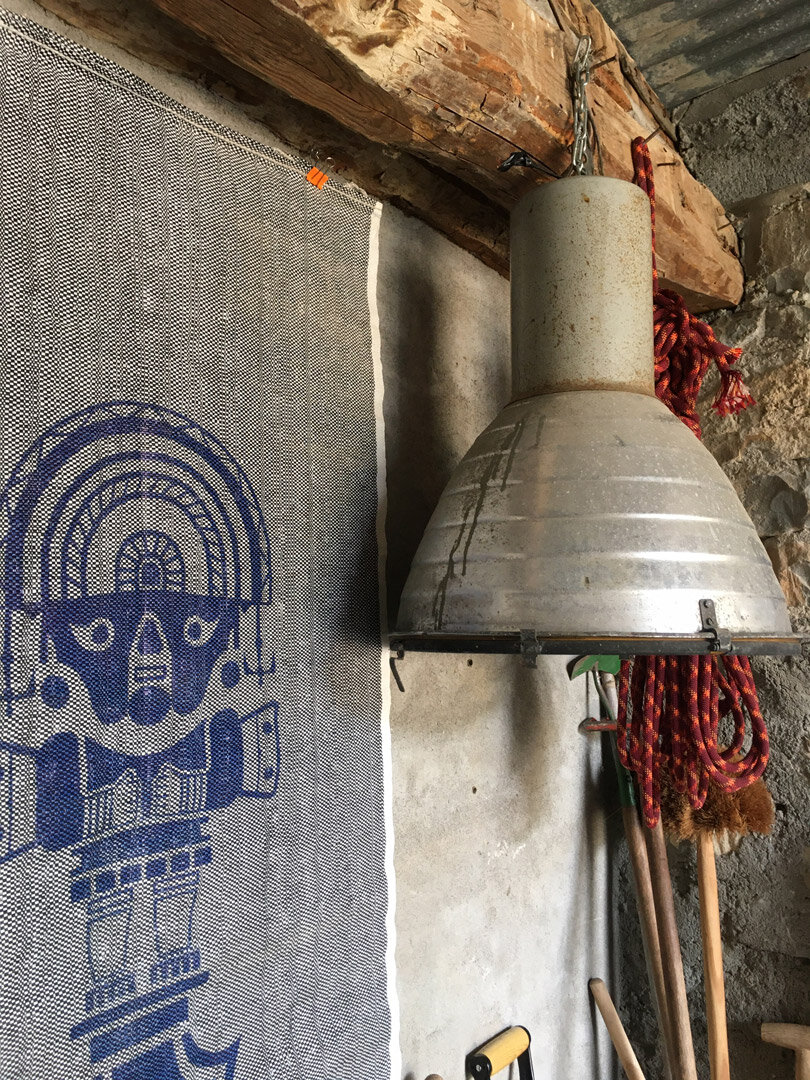
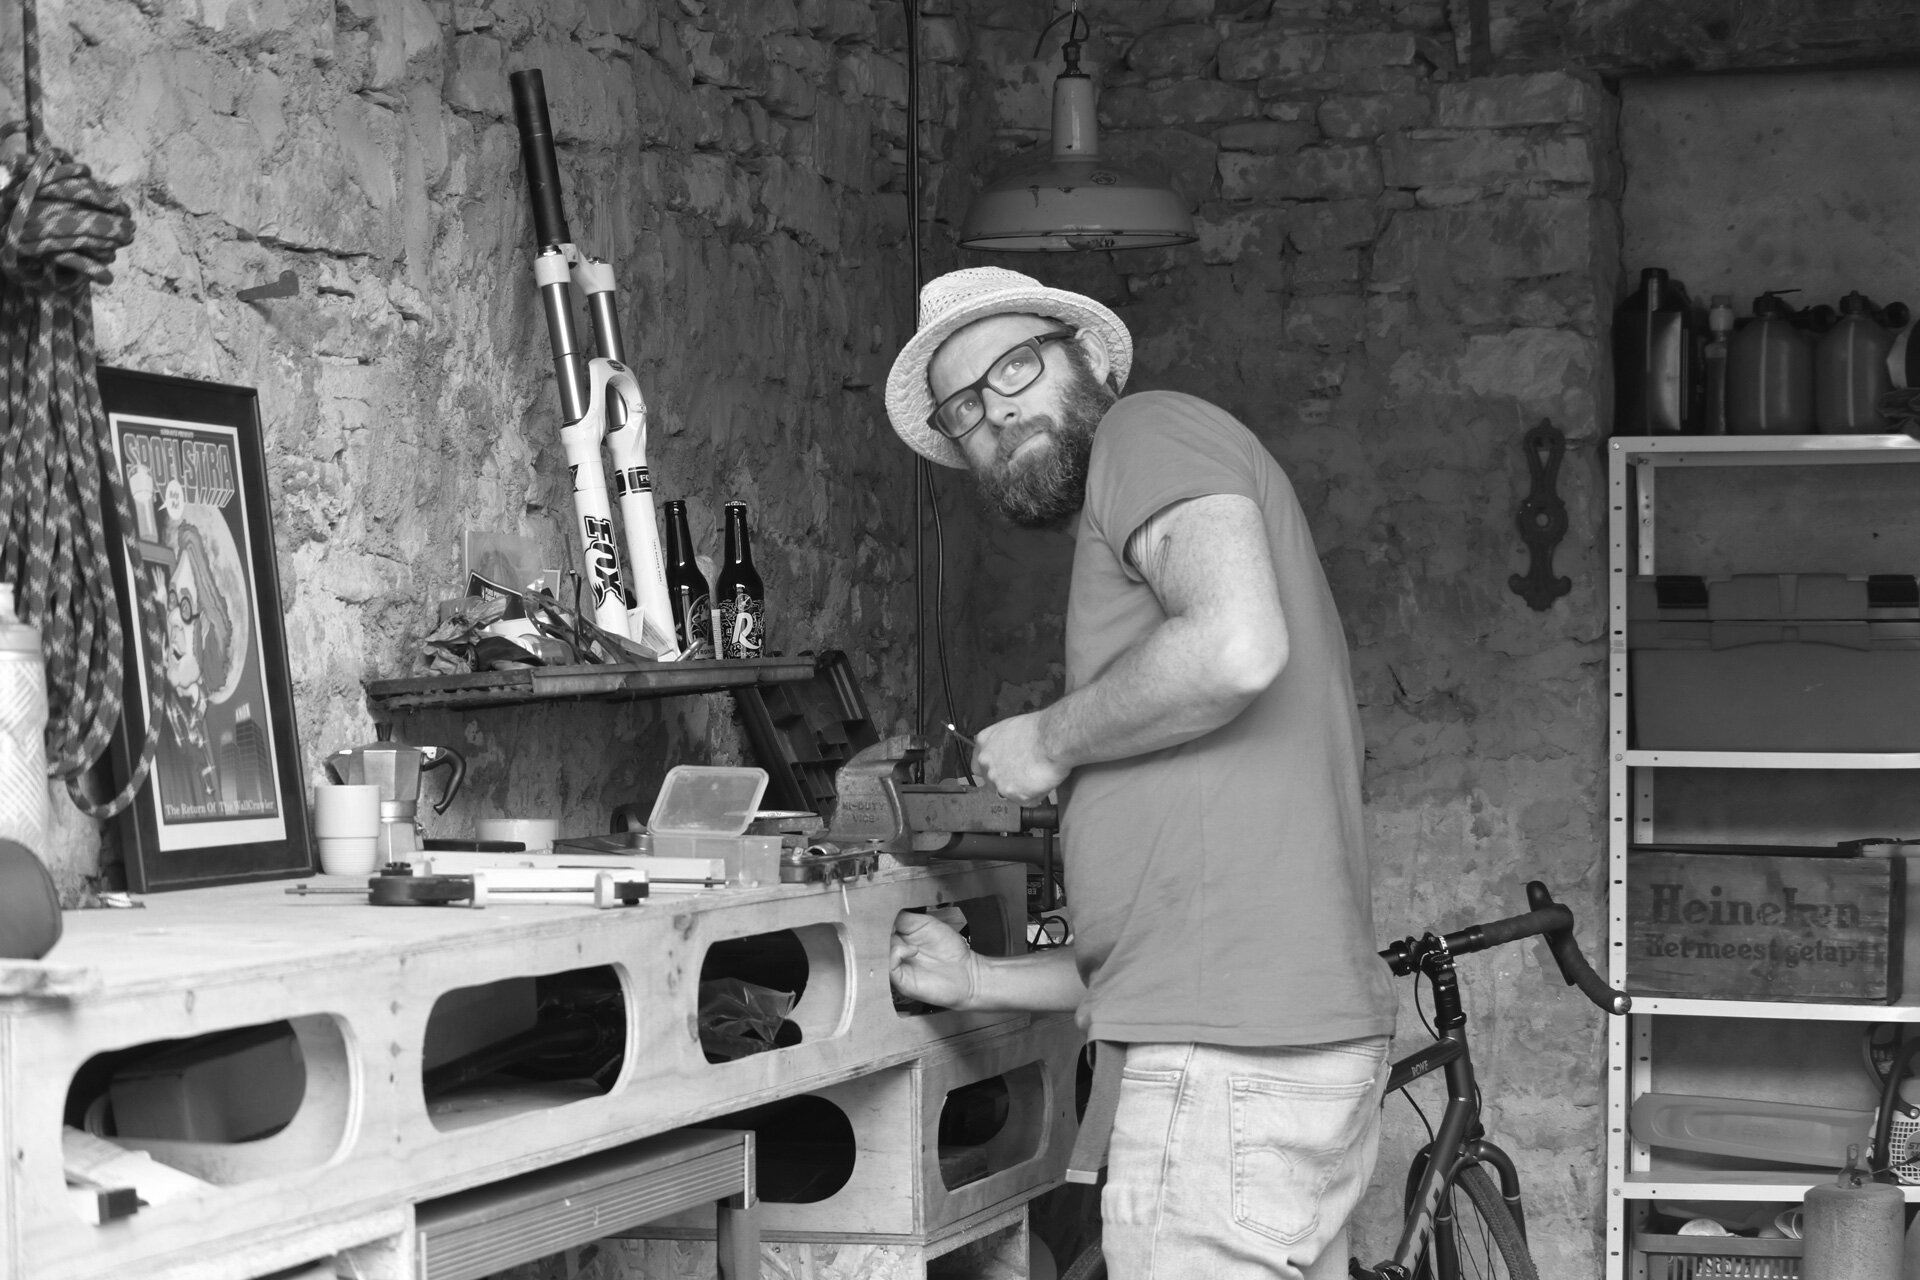
Because I had enough time on my hands, I wanted to create space that really reflected who I am. Making & creating is what I love next to be on the bike. I am not the best bike mechanic but I like to maintain my bikes and do things with my hands. This gives me peace of mind, my thoughts simply come to a standstill. You could also call it a way of meditating, the atmosphere of the bike shed should be relaxing. So I surrounded myself with some personal items that used to be in the house but are now in the shed. One of the coolest things I put is the cardboard R16 lamp by dutch design agency Waarmakers.

Check out Waarmakers for more beautiful, clever & sustainable products
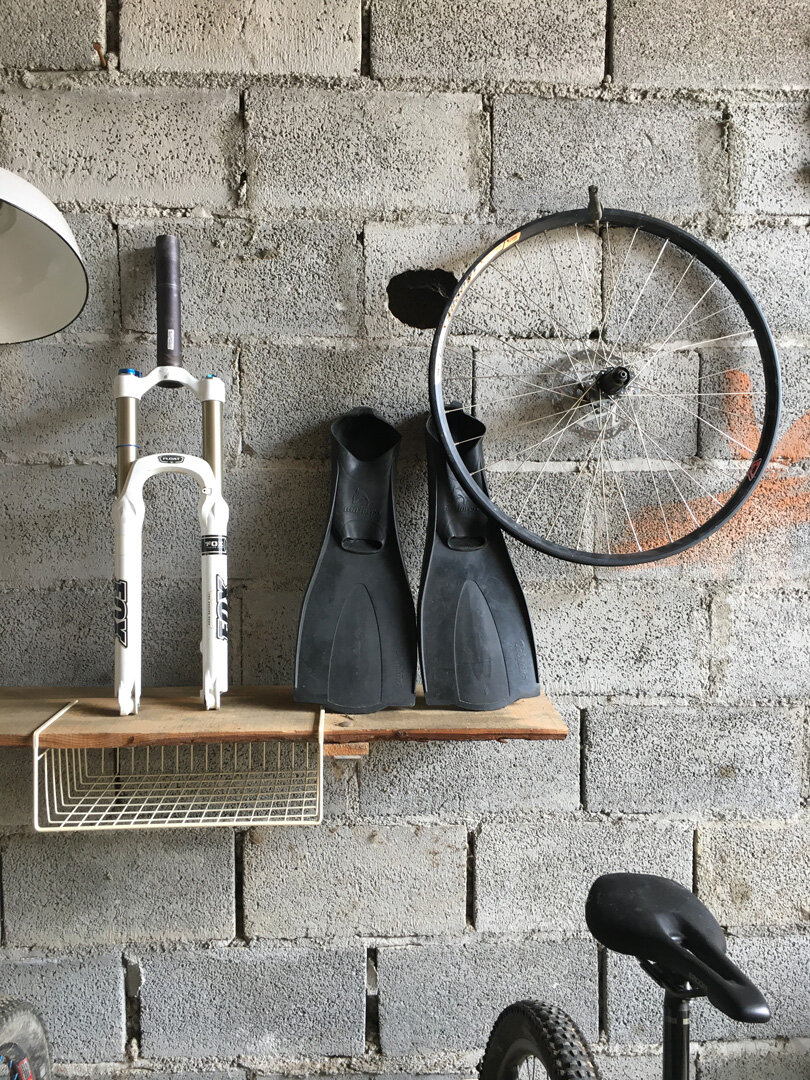
The R16 lamp didn’t have a place in our house yet and this was the perfect spot for it as it creates a good amount of light of working at the workbench. The there is a potato bag that I took from by bike trip to the Sacred Valley in Peru in 2016. To me it is beautiful and has tons of memories. There is another very old lamp that i got from a my dad, which is dear to me. And the caricature drawing of me with long hair back in 2003 made by dutch Illustrators Schwantz & Trik. To make it a bit weird I put a sheep skull, which I found around the farm Rubber webbed feet that I took from a trip to Indonesia. And not to forget the money crate that was used to transport euros when Europe introduced the Euro back in 2002.

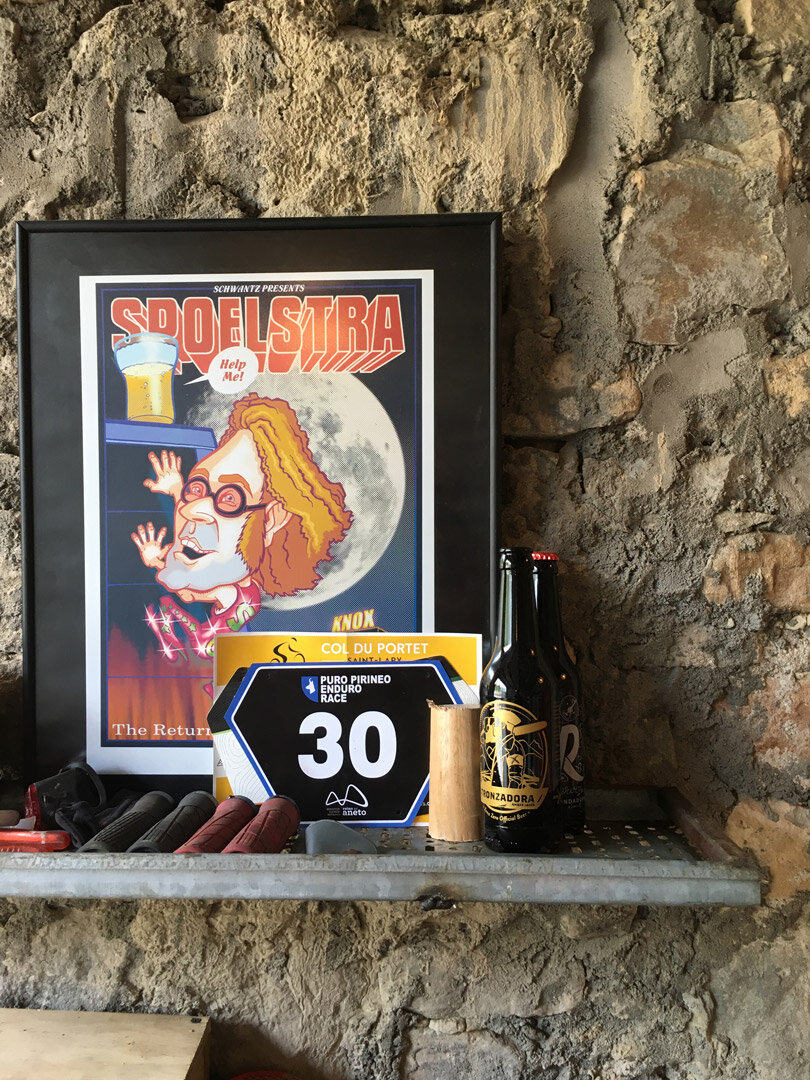
All these things make the bike shed feel like 100% me.
Build with attention
I had time on my hands, so one of my goals was to build slowly. With that I mean take time to make things and don’t rush it. I loved that the only power tools I had were the drills. All the sawing, planing and other woodwork was done with hand tools. That gave me a meditative feeling. Not trying to be a hippy, I am more a hipster type of person, but to me it is just so relaxing to design something, build it with your hands and than seeing it appear.
I didn’t build it in one week. I worked on the bike shed once or twice per week for 6 or 7 weeks. That was important because the time in-between building days gave me time to reflect about what I build and think about improvements or next steps.
I build so slow that you can see my beard and lockdown hairdo grow during the video.
Attention is somewhat of a lost mindset. Before corona everything needed to be rushed in the world, also by me. I am happy I found my attention spam again, because I believe it improves the quality of the things you make and it improves the quality of life in general.
I hope you like the new shed and the building process, if you have any remarks, feedback or questions about creating a bike shed yourself please leave a comment below or write an e-mail.

Author: Jeroen Spoelstra
Video & pictures: Jeroen Spoelstra
Did you like what you just read? Fancy a visit to Ainsa, Zona Zero? We are happy to guide you around in this magnificent place.
send an e-mail or call +34670443373
